Grained Finish Instructions
Create a wood-grained finish with a graining tool.
Prep your surface
Show instructions
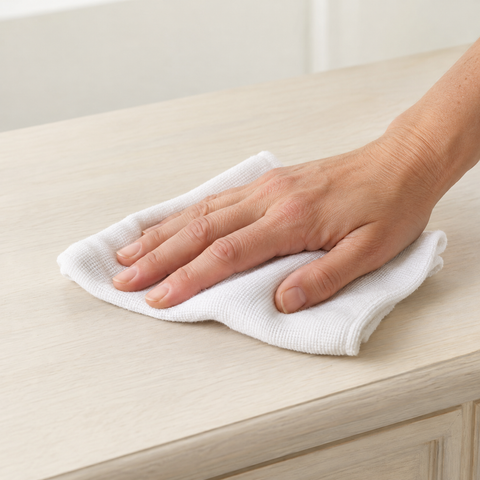
Start with a clean surface so your finish can adhere well.
- Wipe down with denatured alcohol mixed with water, or with Krud Kutter®.
- Scuff sand lightly, especially if the surface is slick or glossy, to help primer adhesion.
- Wash with Dawn® Dish Soap and rinse thoroughly with warm water until the surface is squeaky clean.
Do not use TSP products. TSP can prevent wood-based coatings from adhering properly.
Clean It

Apply Wood’n Primer
Show instructions
Build the wood-based foundation for your finish.
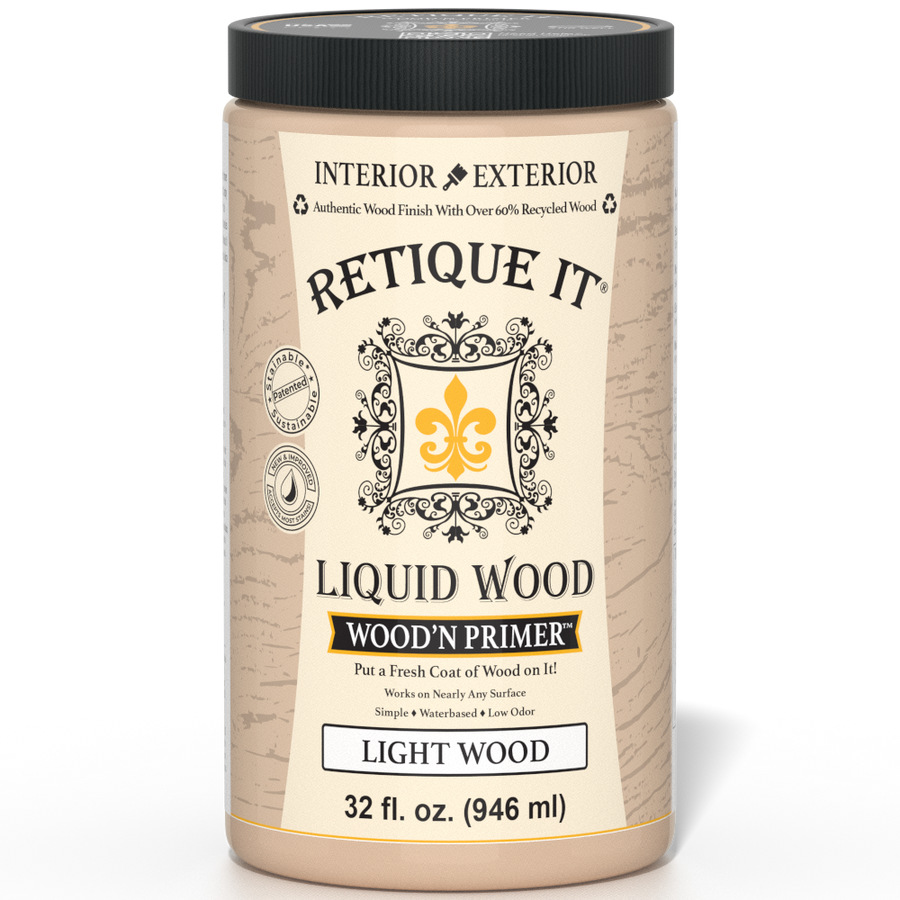
- Brush, roll or spray on 2–3 coats of Wood’n Primer.
- Make the final brush strokes long and in the direction you want the grain.
- If you use a roller, run a brush through the coating while it is still wet, using long, even strokes.
- Clean your brush or equipment while the project dries.
Drying: allow 2 hours, following your product’s directions.
Application and drying tips
A blow dryer may shorten drying time, potentially to as little as 5 minutes on high heat.
Prime It

Create the grain
Show instructions
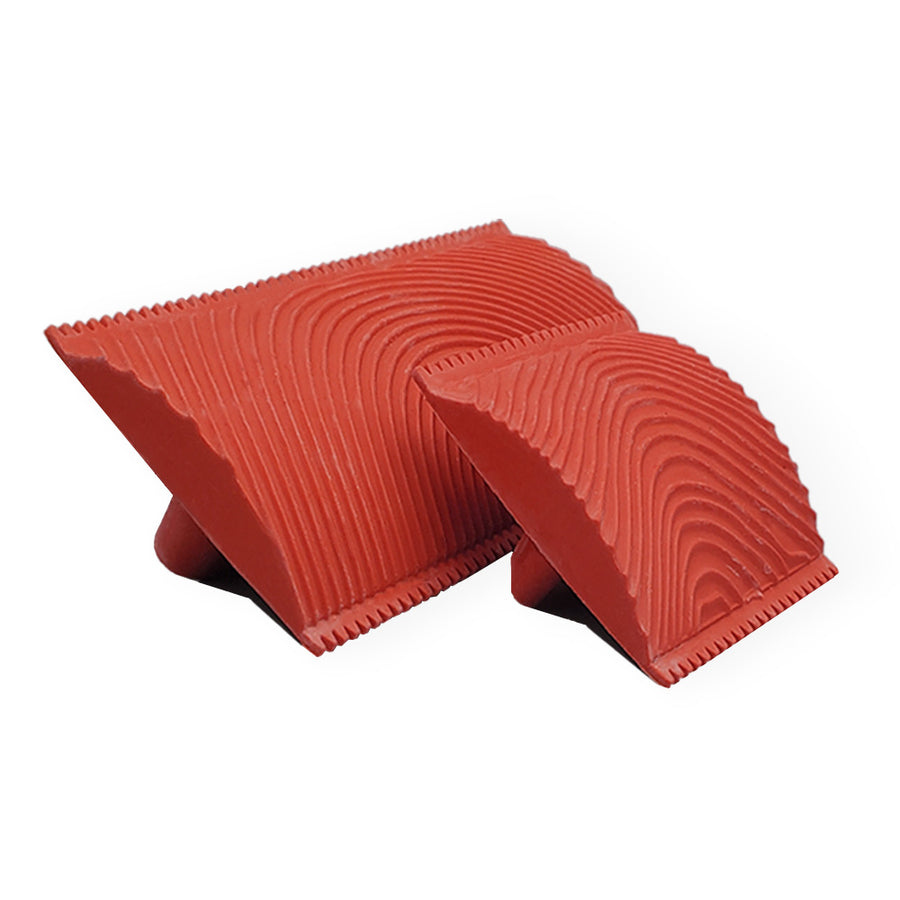
Work in plank-sized sections while the coating is still wet.
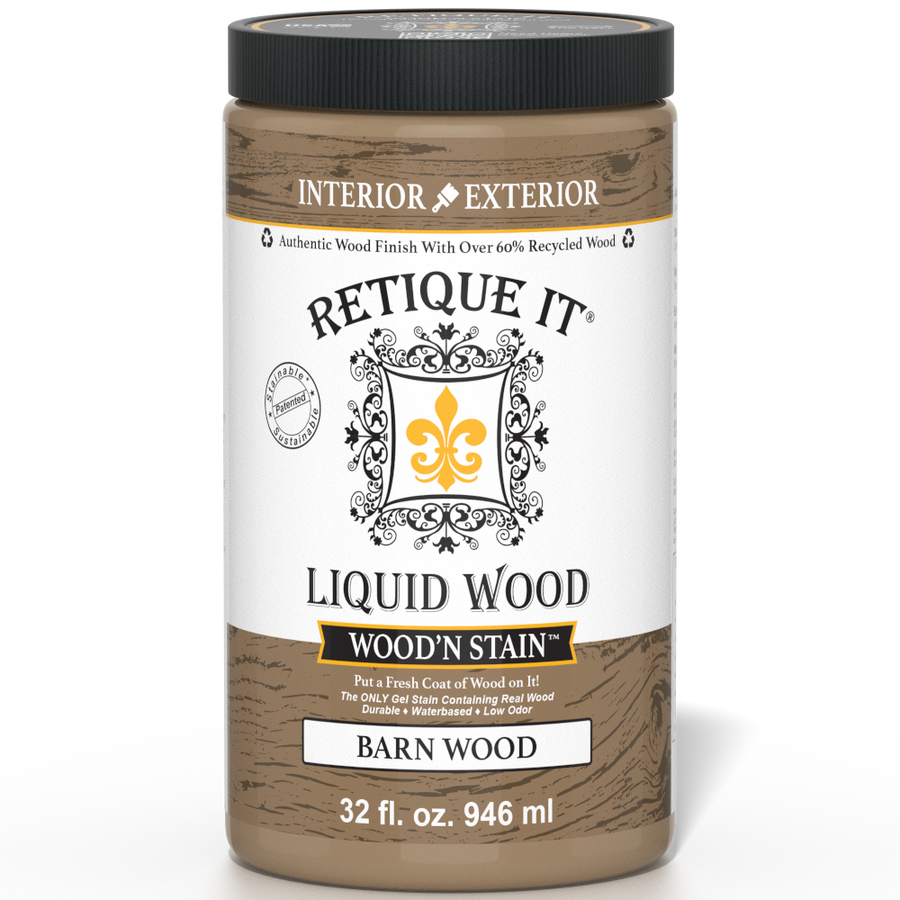
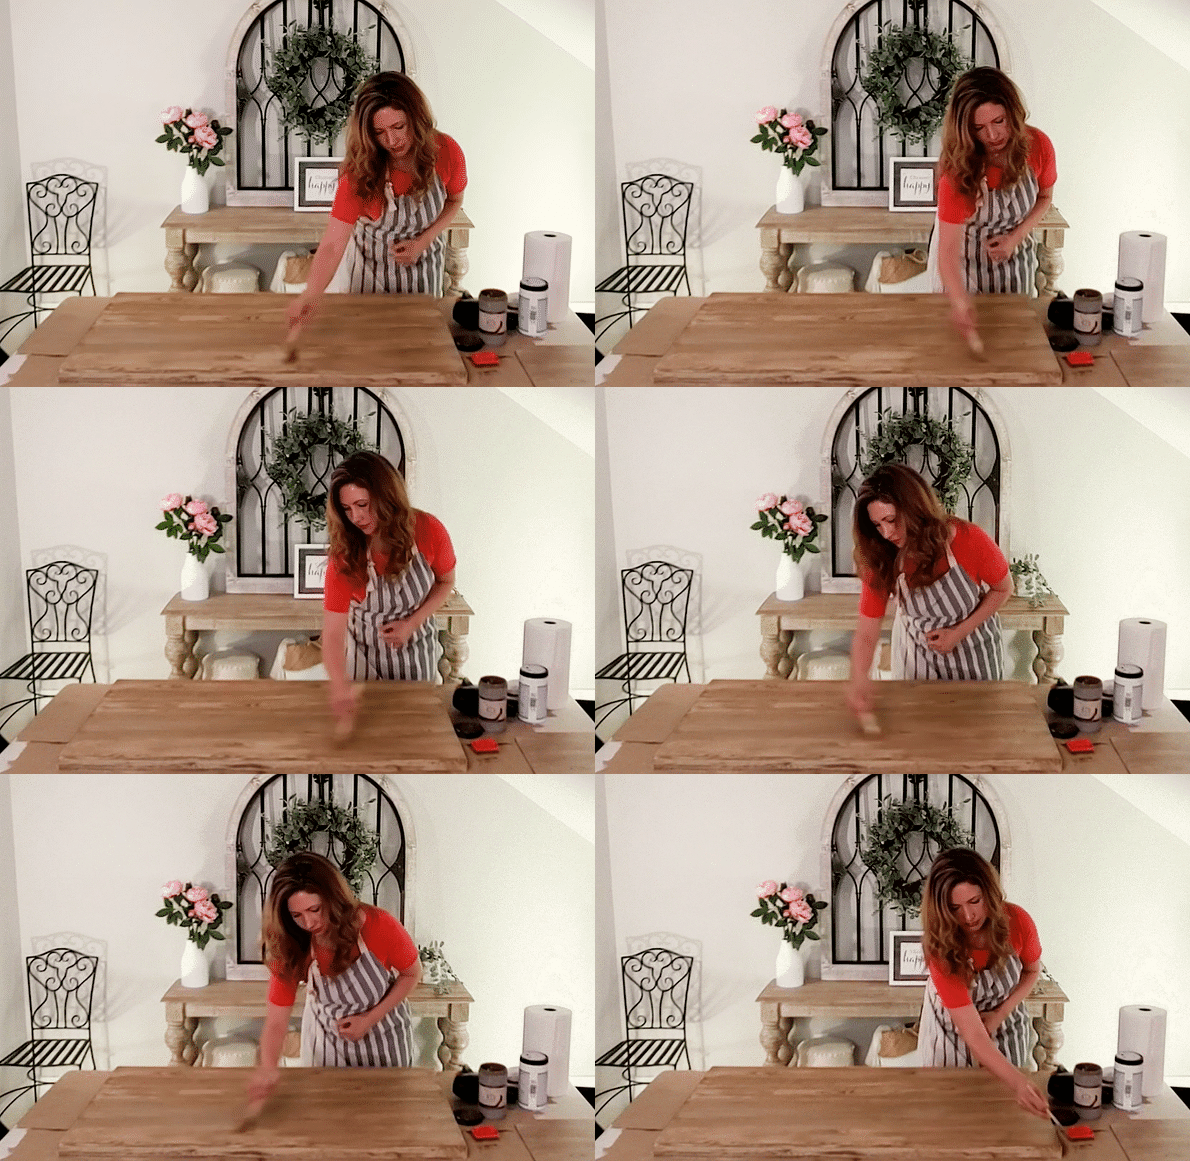
- Brush on a thin coat of Wood’n Stain.
- Pull the graining tool through each section while it is still wet.
- If you do not like the grain, apply another coat of Wood’n Stain over that section and grain it again.
- Wash your brush and graining tools thoroughly.
Prefer a smooth finish?
If you do not want to use a graining tool, follow the Smooth Finish instructions instead.
Grain It

Apply your stain
Show instructions
Use optional stain coats to adjust the color and depth of your finish.
Wood’n Stain Optional · up to 3 coats
- Apply 1–3 coats, as desired. Each additional coat makes the finish less rustic.
- Make final strokes long and in the direction you want the grain.
- Do not wipe back Wood’n Stain like other stains.
- Clean your brush after application.
Drying: allow the project 2 hours to dry completely.
Gel Stain Alternative Optional · up to 3 coats
- Apply 1–3 coats, as desired.
- Use a brush, sponge or lint-free cloth.
- Keep working the stain until all speckles are gone.
- Make final swipes long and in the direction you want the grain.
Drying: allow each coat 2 hours to dry.
Drying tips
A blow dryer may shorten drying time, potentially to as little as 5 minutes on high heat.
Stain It
Protect your project
Show instructions
Choose a topcoat that suits the surface, use and location of your project.
Topcoat required
- Countertops
- Tabletops
- Flooring
- Porches
- Decking
Topcoat optional
- Fireplaces
- Cabinets
- Buffets
- Dressers
- Molding
Topcoat application directions
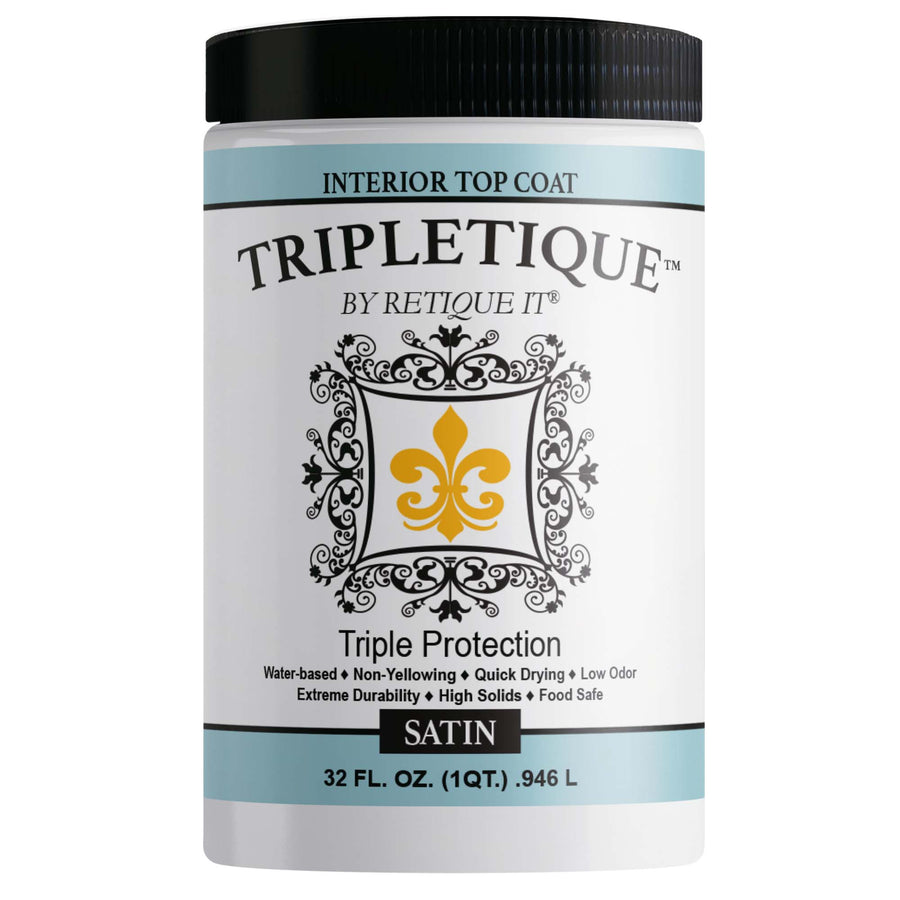
Use a topcoat appropriate for your project—interior, exterior or high traffic. If your kit does not include one, choose a suitable topcoat.
- Allow the paint or stain to dry completely before applying a topcoat.
- Gently stir the topcoat before and occasionally during use. Do not shake.
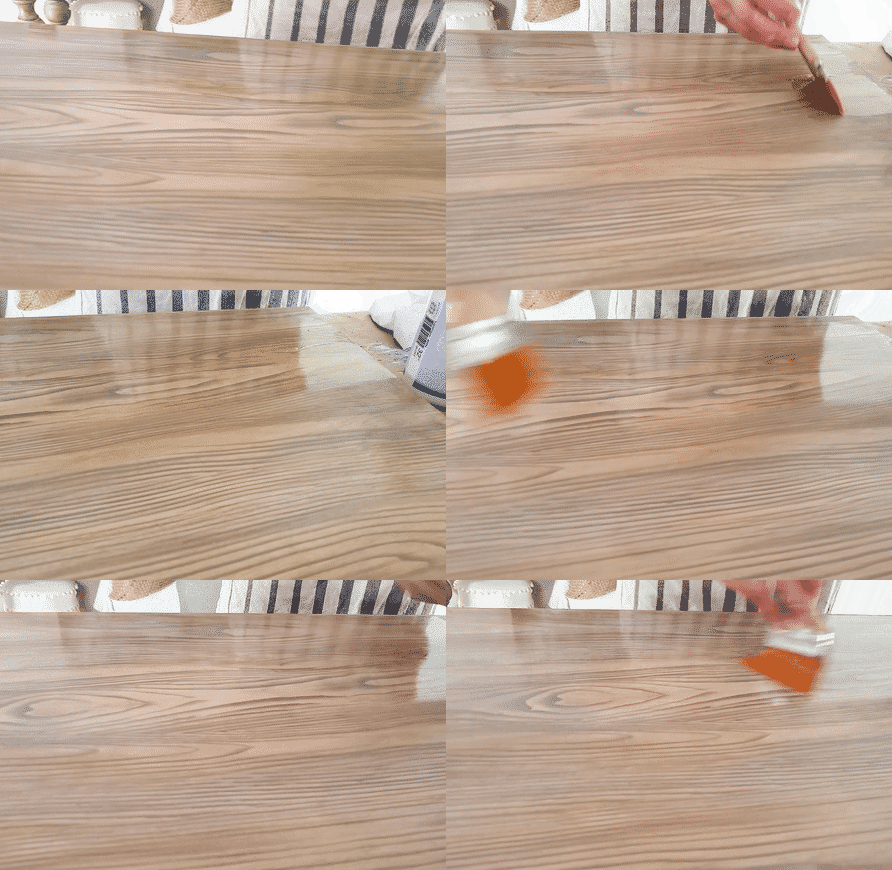
- Apply a thin, even coat with a high-quality brush, foam brush or applicator pad. Use long, smooth strokes in the direction of the surface or wood grain.
- Stop brushing once the finish begins to set; overworking can cause streaks or cloudiness.
- Let each coat dry completely before adding another. Multiple thin coats provide the best durability and finish.
- When using Tripletique or Retique It Polyacrylic, allow 1 hour between coats and 10 full days to cure. Follow your container if its directions differ.
- Handle gently while curing, and keep heavy objects off the surface until fully cured.
These timing directions apply to Tripletique and Retique It Polyacrylic. For another topcoat, follow that product’s label.
Seal It
Wood’n Finish Kit Instructions
Use the arrows to turn pages. Open the full reader for larger text. Scroll beside the book to move down the page.
Loading the instruction book…